Demonstration Video

ESP’s Surface Applied Access® Tile can be mechanically & chemically secured to any stable surface. They are fast to install, simple to retrofit and withstand the toughest pedestrian use.
Step By Step Guide
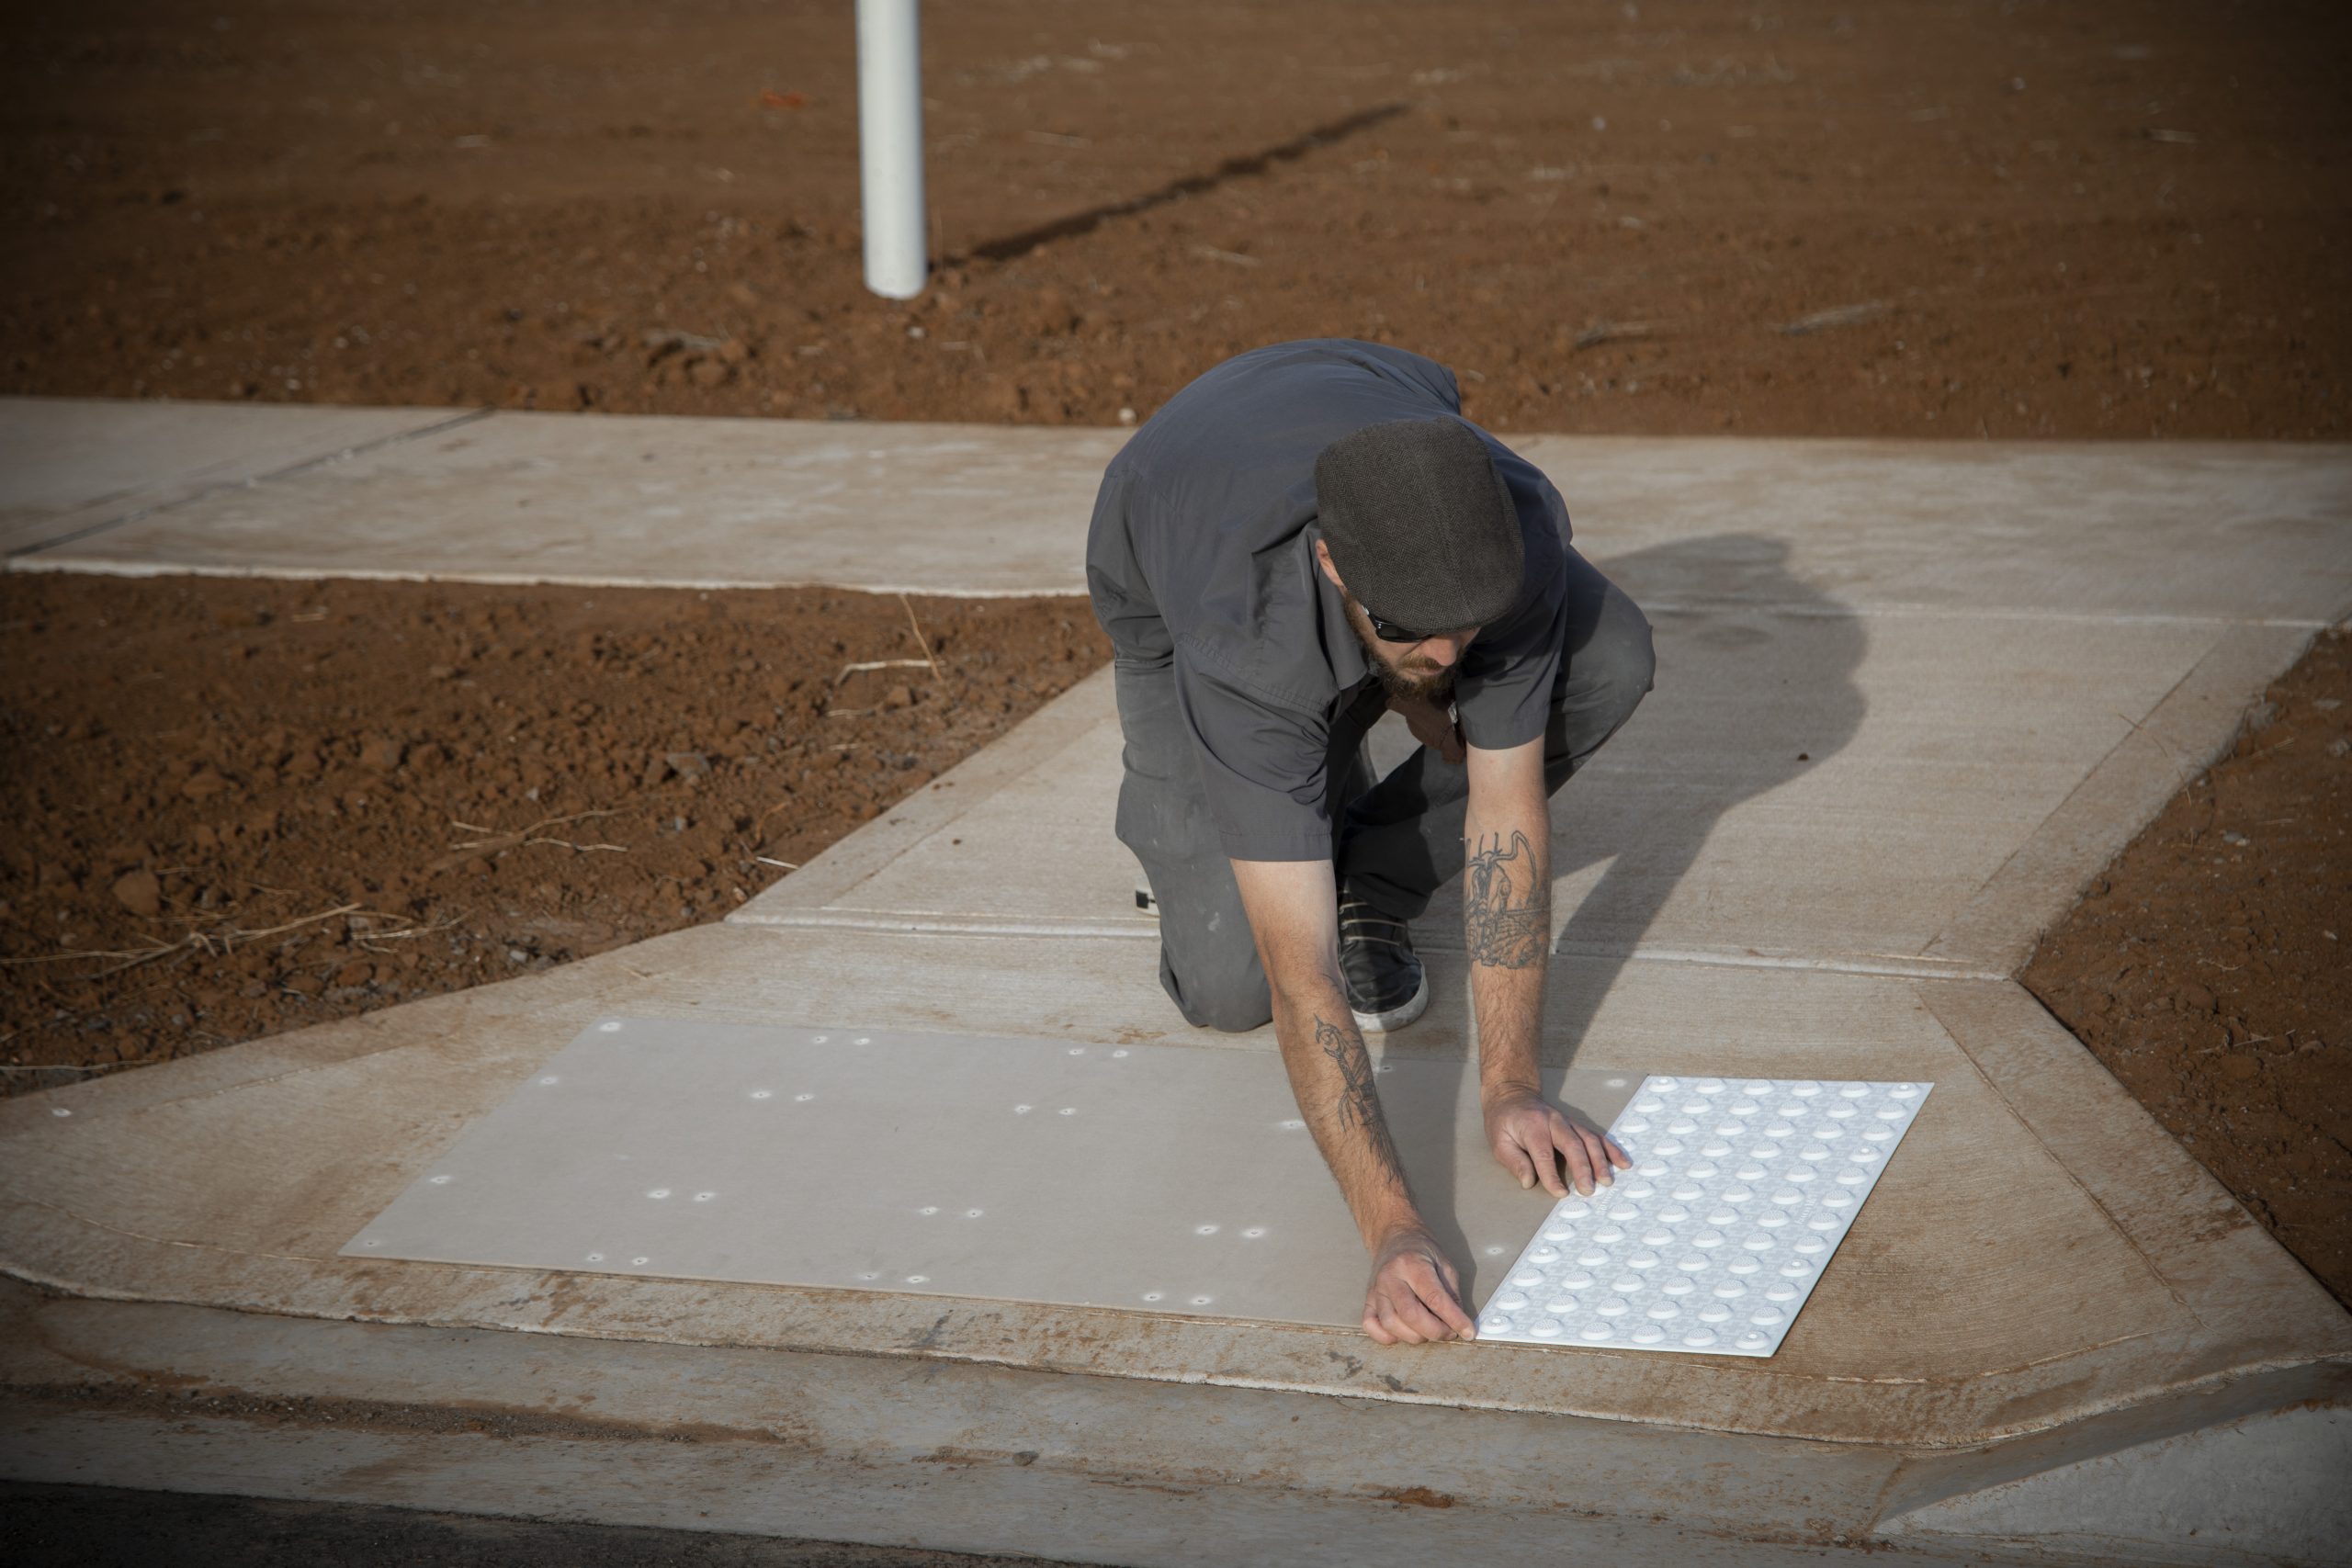
Place the tiles or template on the curb ramp / footpath and measure out as per AS/NZS1428.4.1:2009. Now trace the perimeter with a marker.

Screw & Plug Method
Using a template or as marked, drill fixing holes down 50mm with a hammer drill & 6mm masonry drill bit.
Tek Anchor Method
Using a template or as marked, drill fixing holes down 80mm with a hammer drill & 6.5mm masonry drill bit.
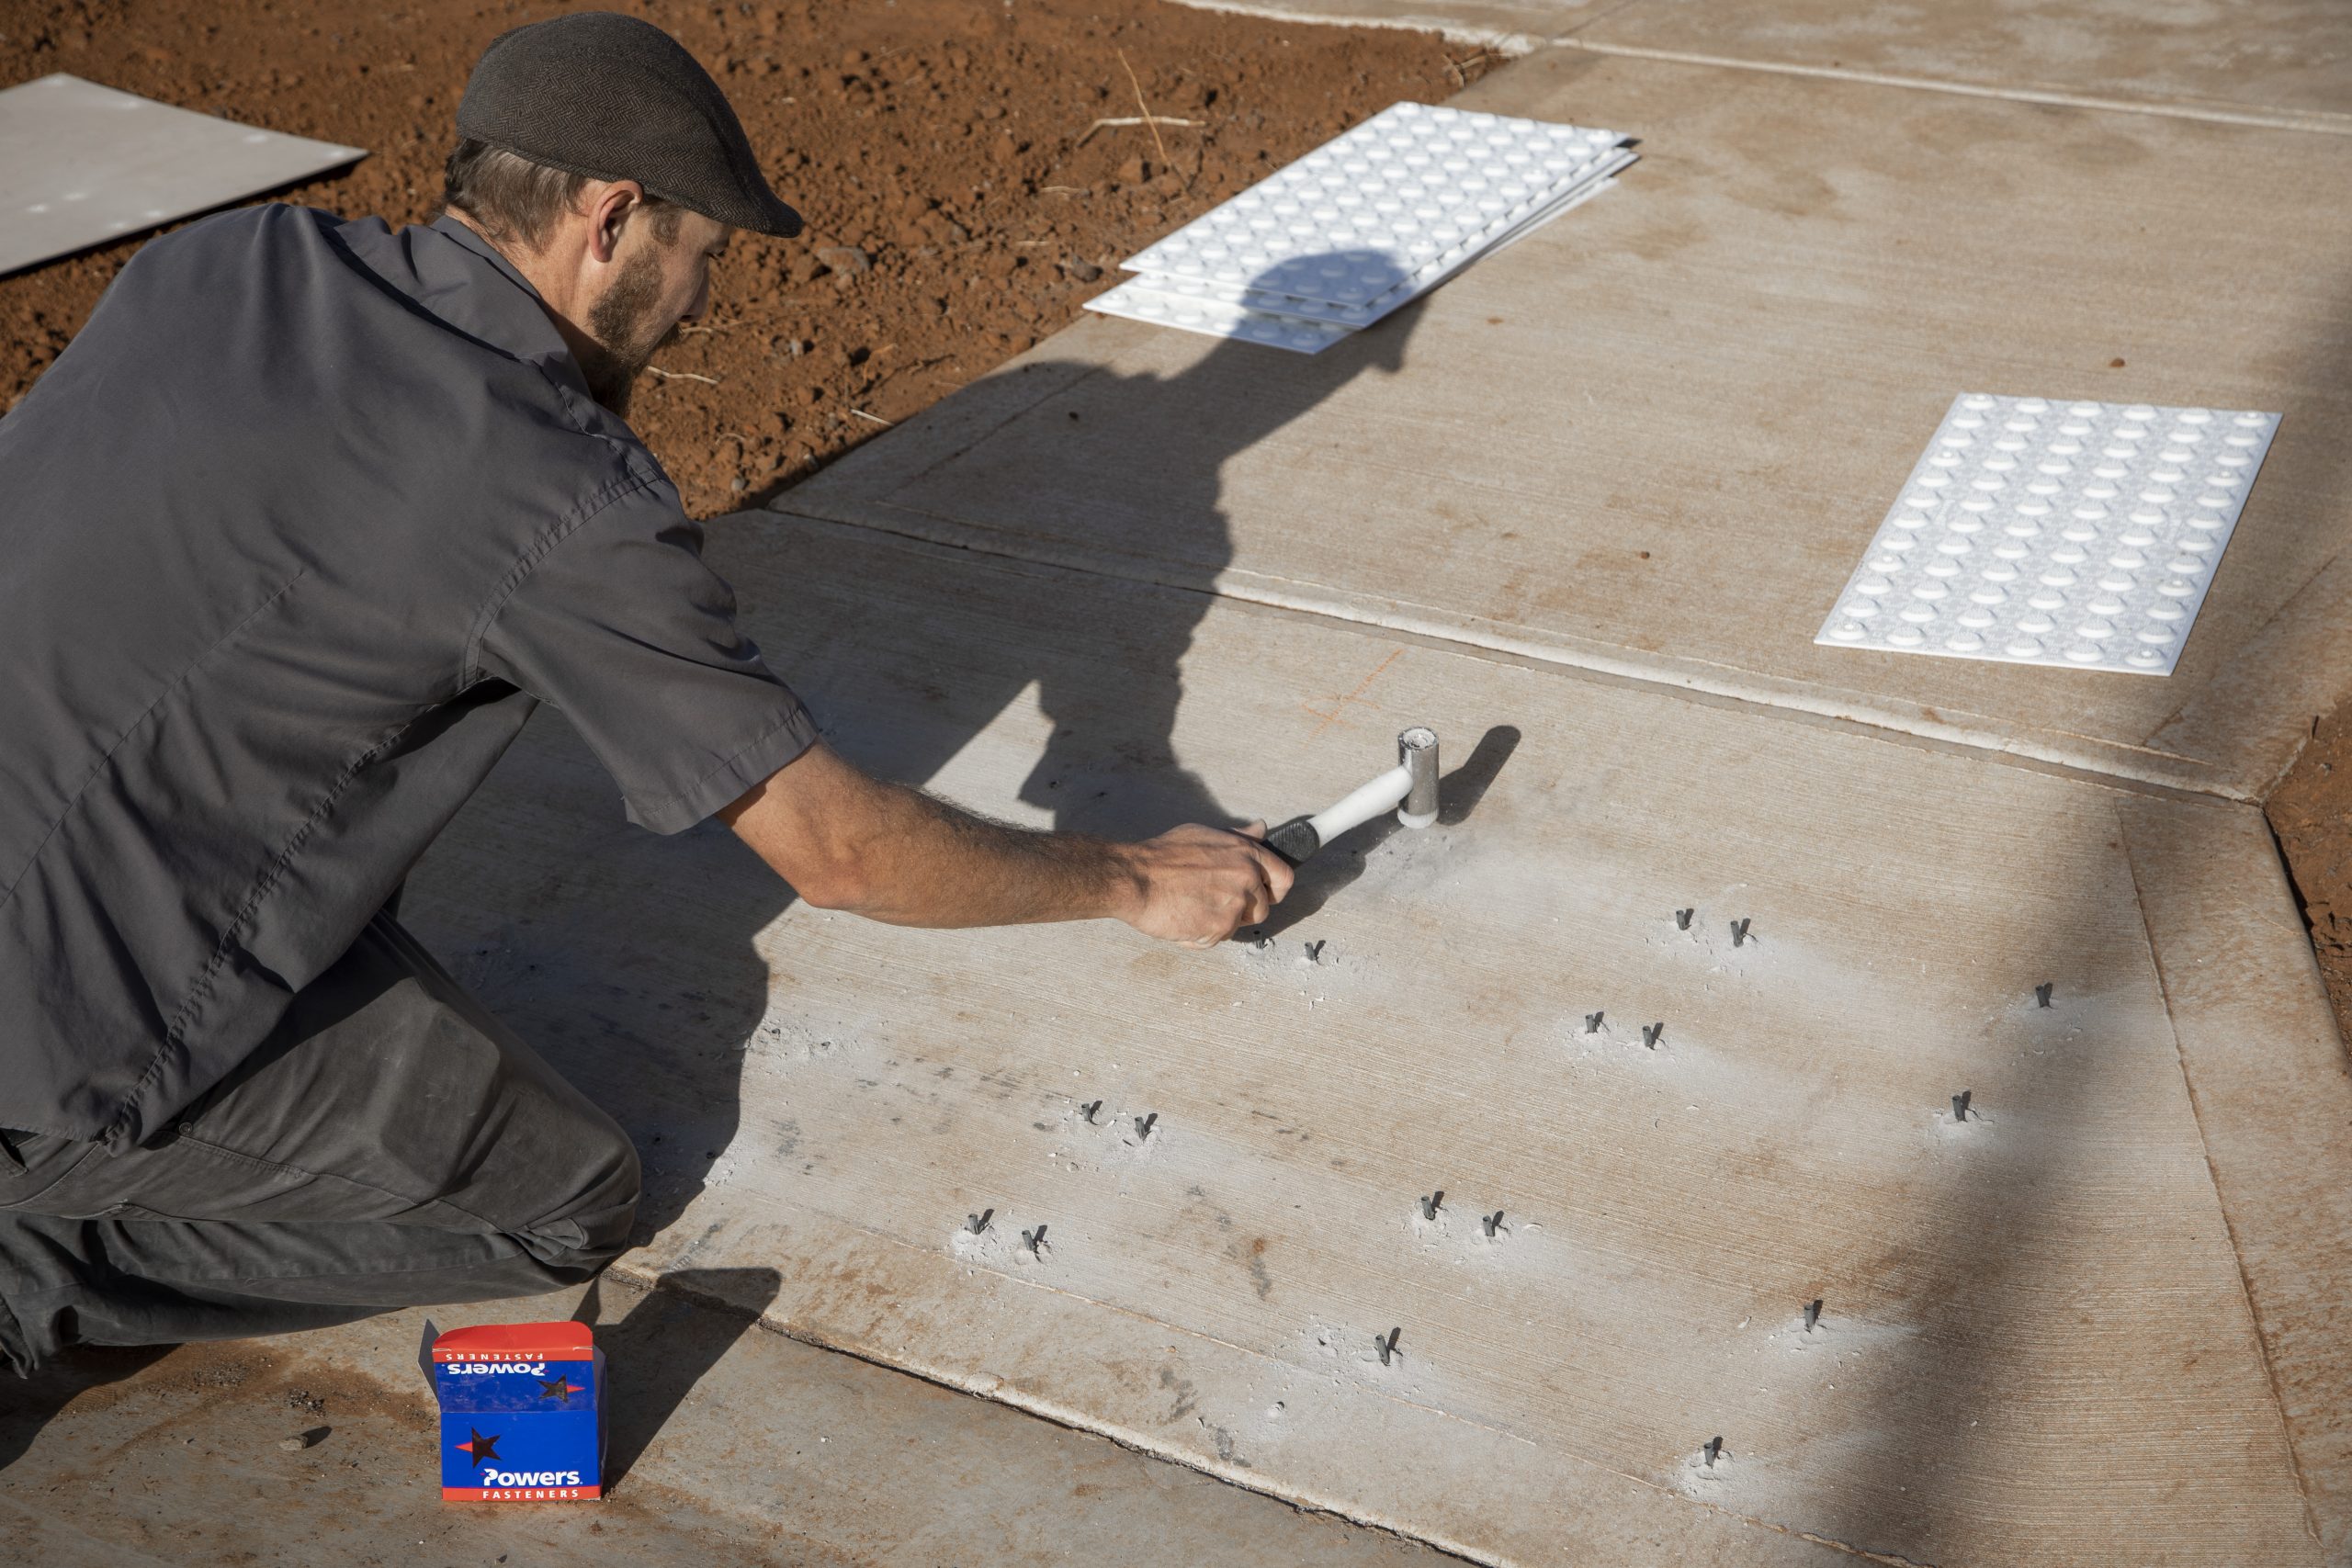
Insert supplied fixing plugs into the drilled holes and tap down flush to concrete surface using a rubber mallet.
Please Note* This step is not required if using supplied Tek Anchors.
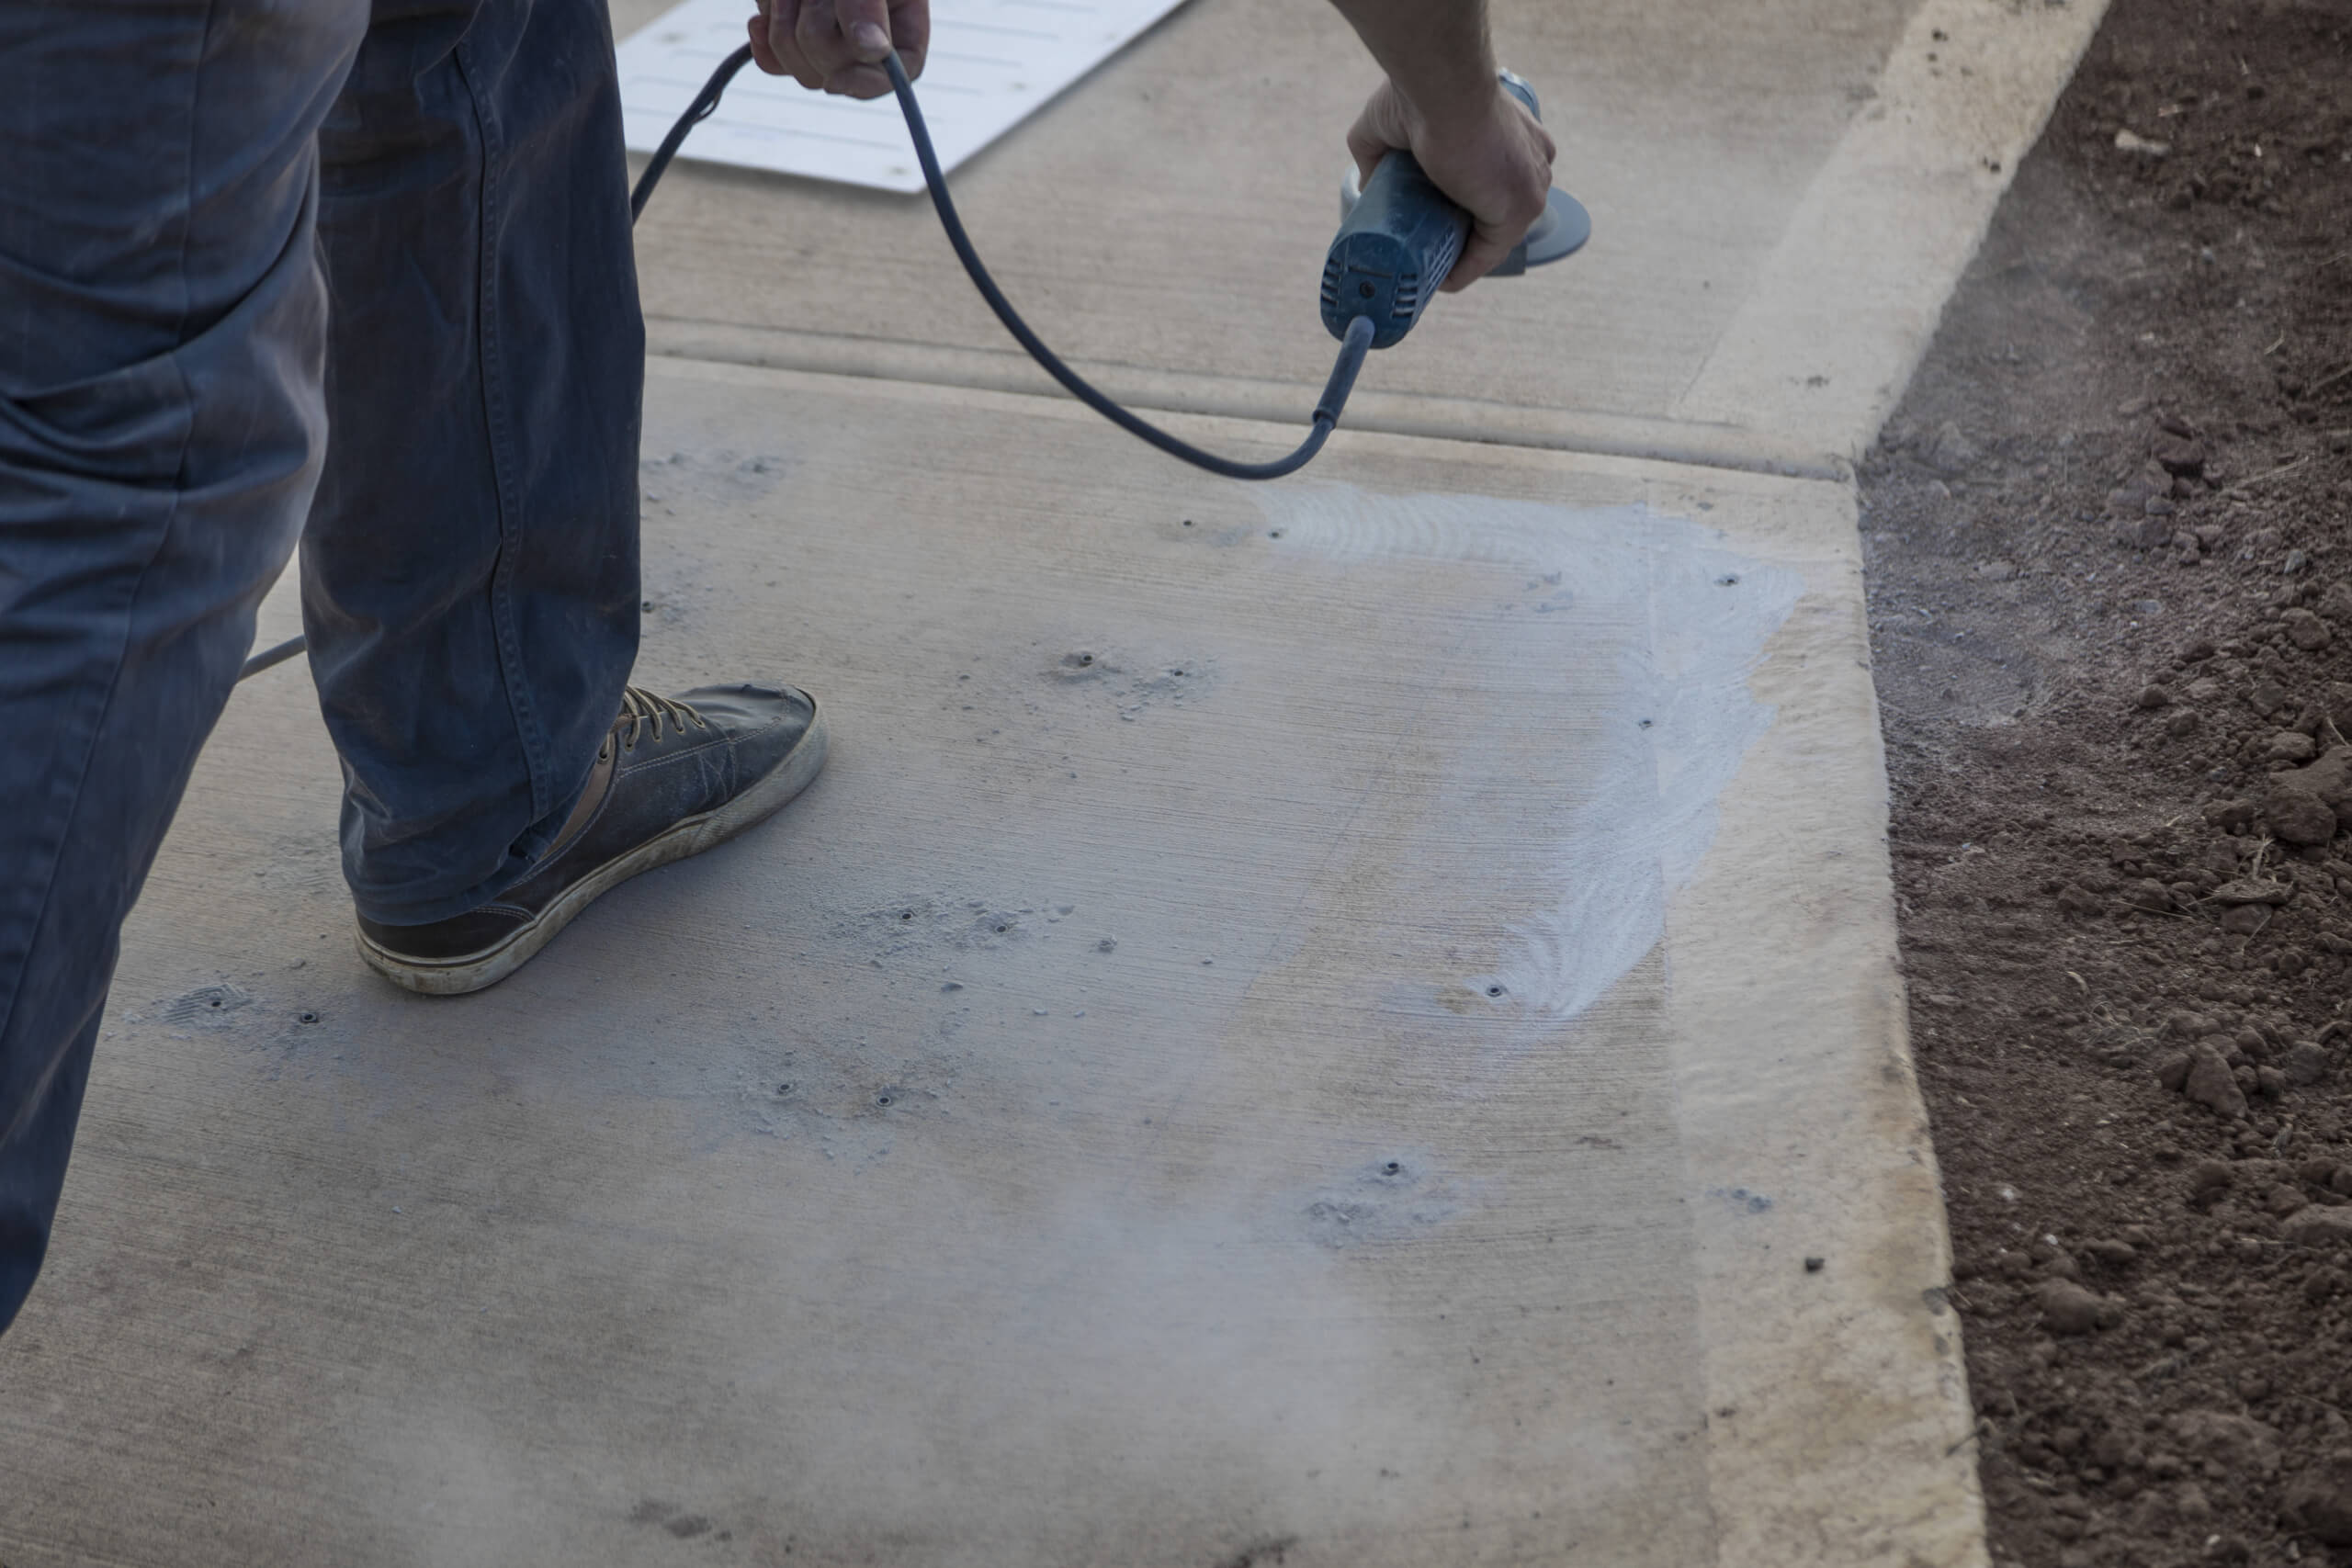
If required, set the tiles aside and using a 100mm diamond cup grinder, lightly scour the concrete within the marked location and in correspondence with the location requiring adhesive as indicated on the underside of the tile.

Clear away the dust with a vacuum, broom or brush. Clearing all dust will ensure the tile adheres firmly to the substrate.

Apply adhesive (ESP recommend using Sikaflex 11-FC Polyurethane adhesive) to the back of the tile (as indicated on the tile). It should be applied 25mm from the perimeter edge and to the 3 middle bars.
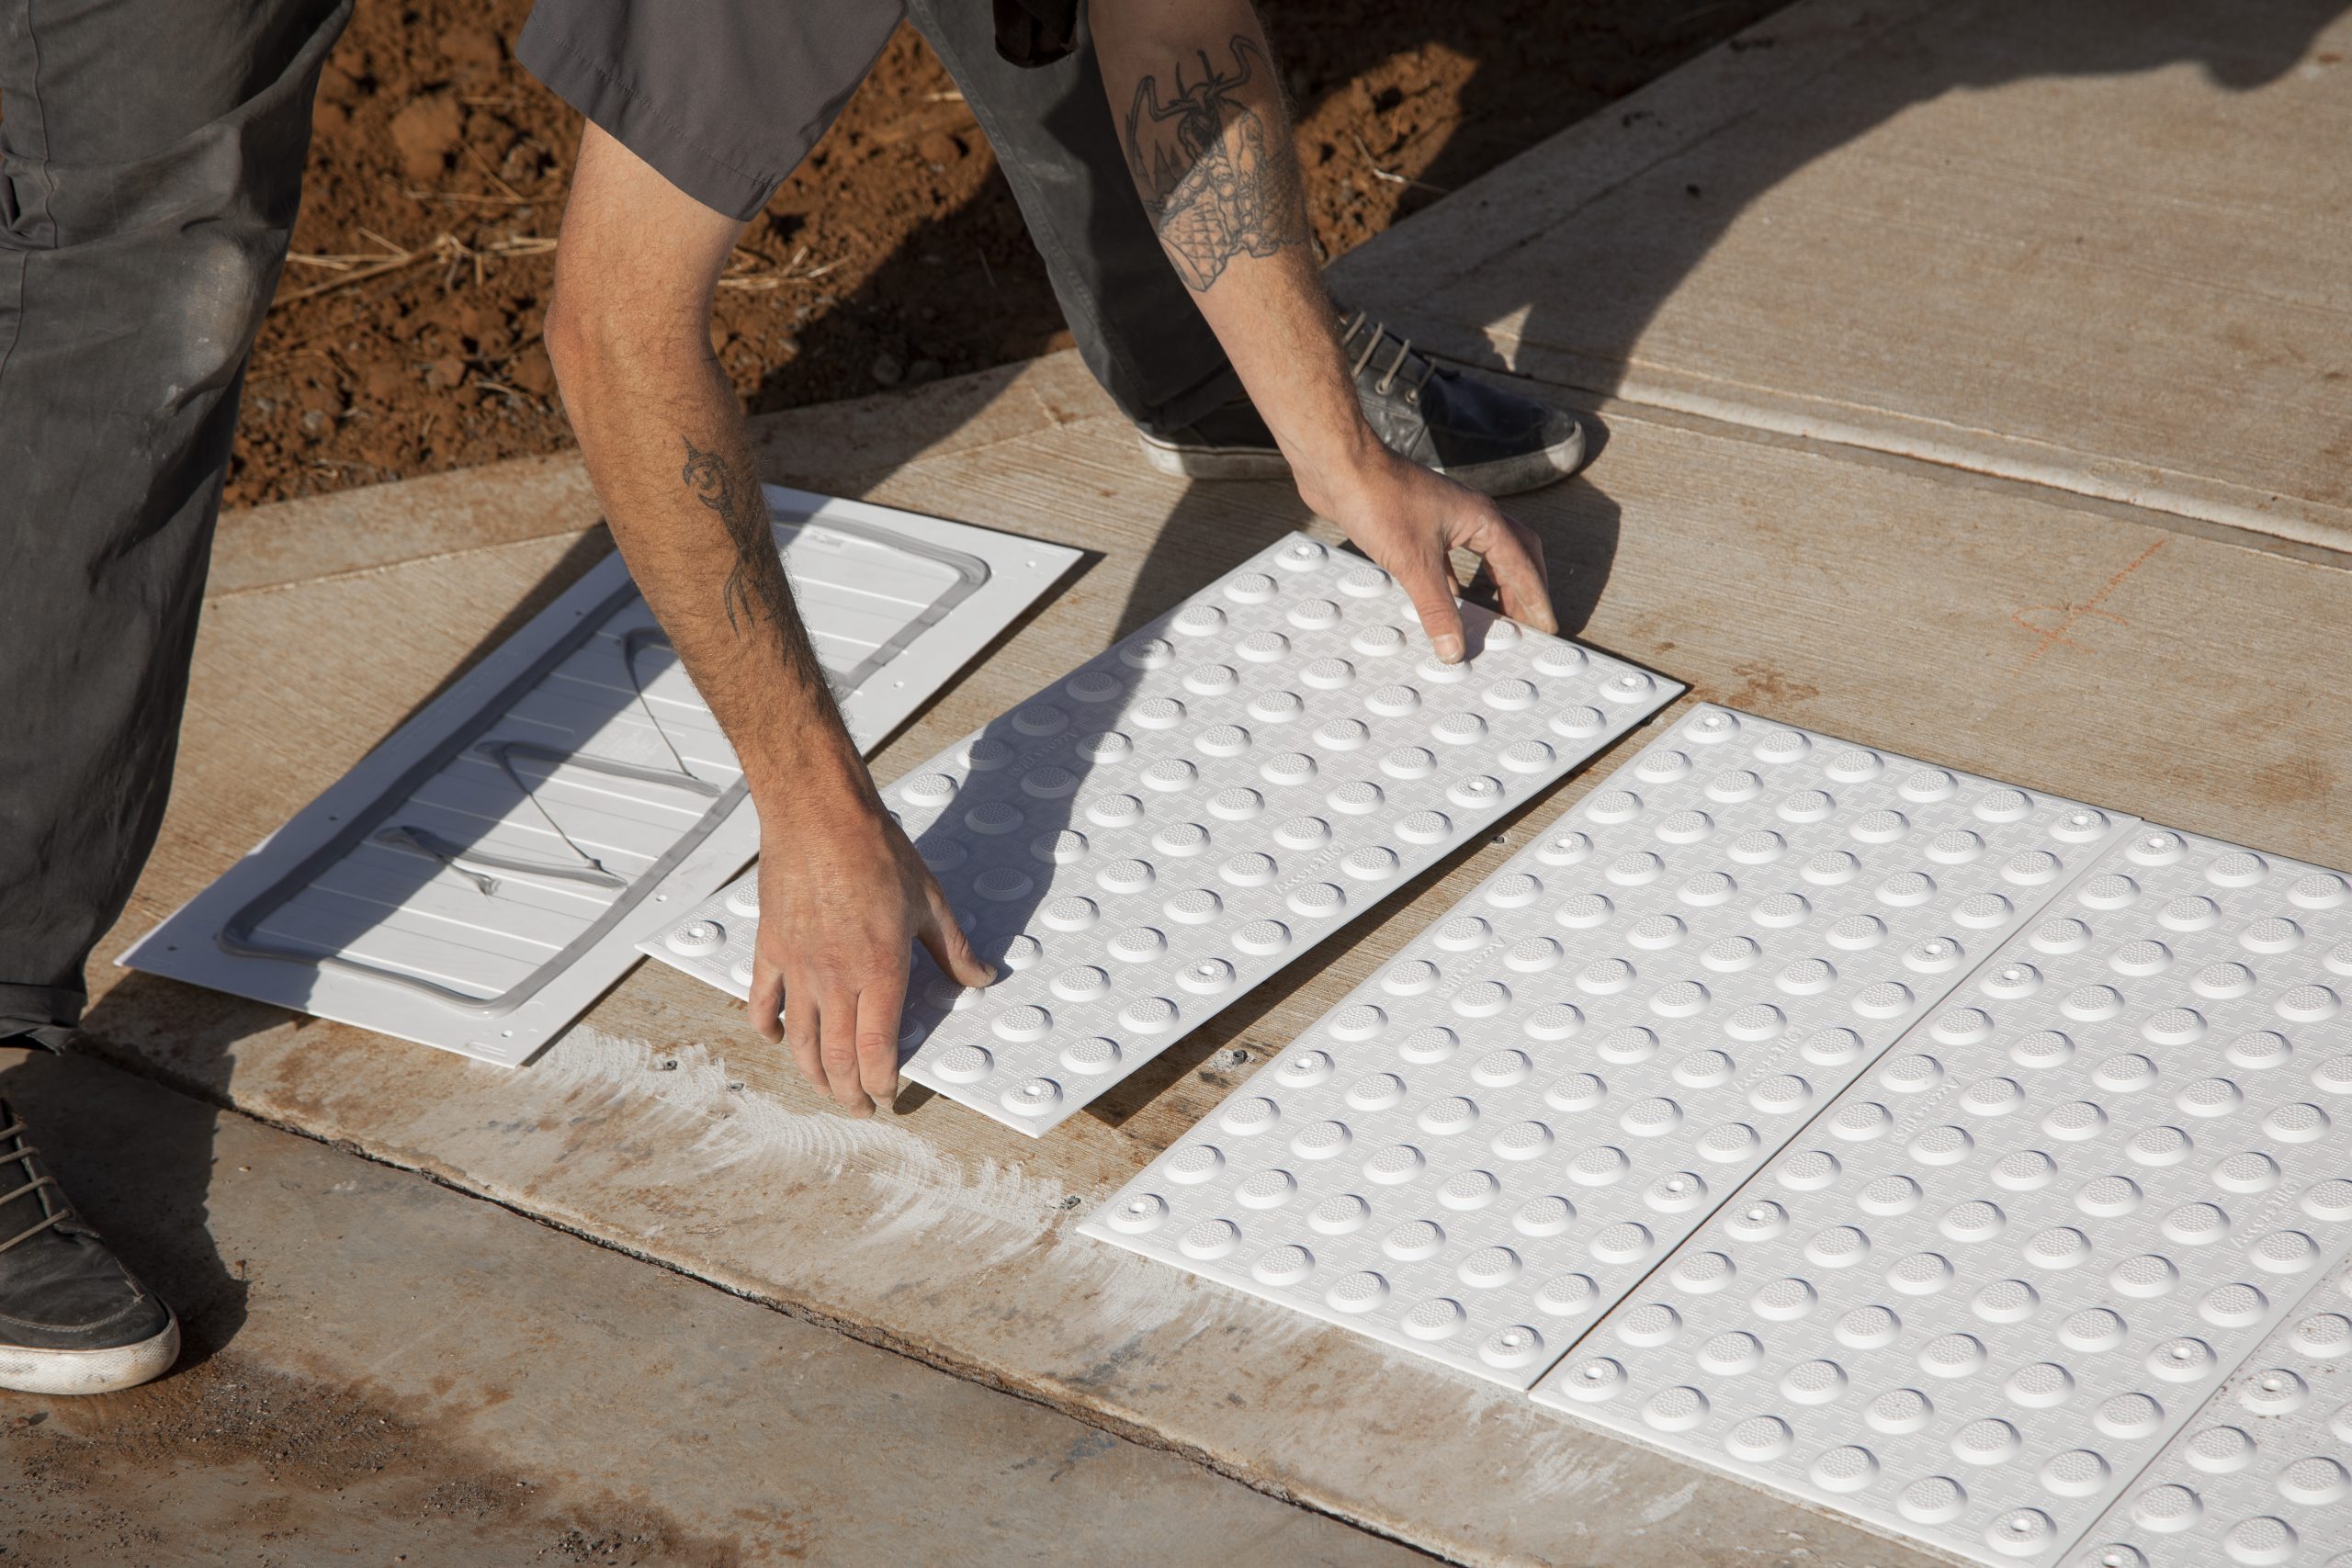
Position the tile onto the curb ramp / footpath as per the marked lines and holes and press down firmly.
Stainless Steel Screws
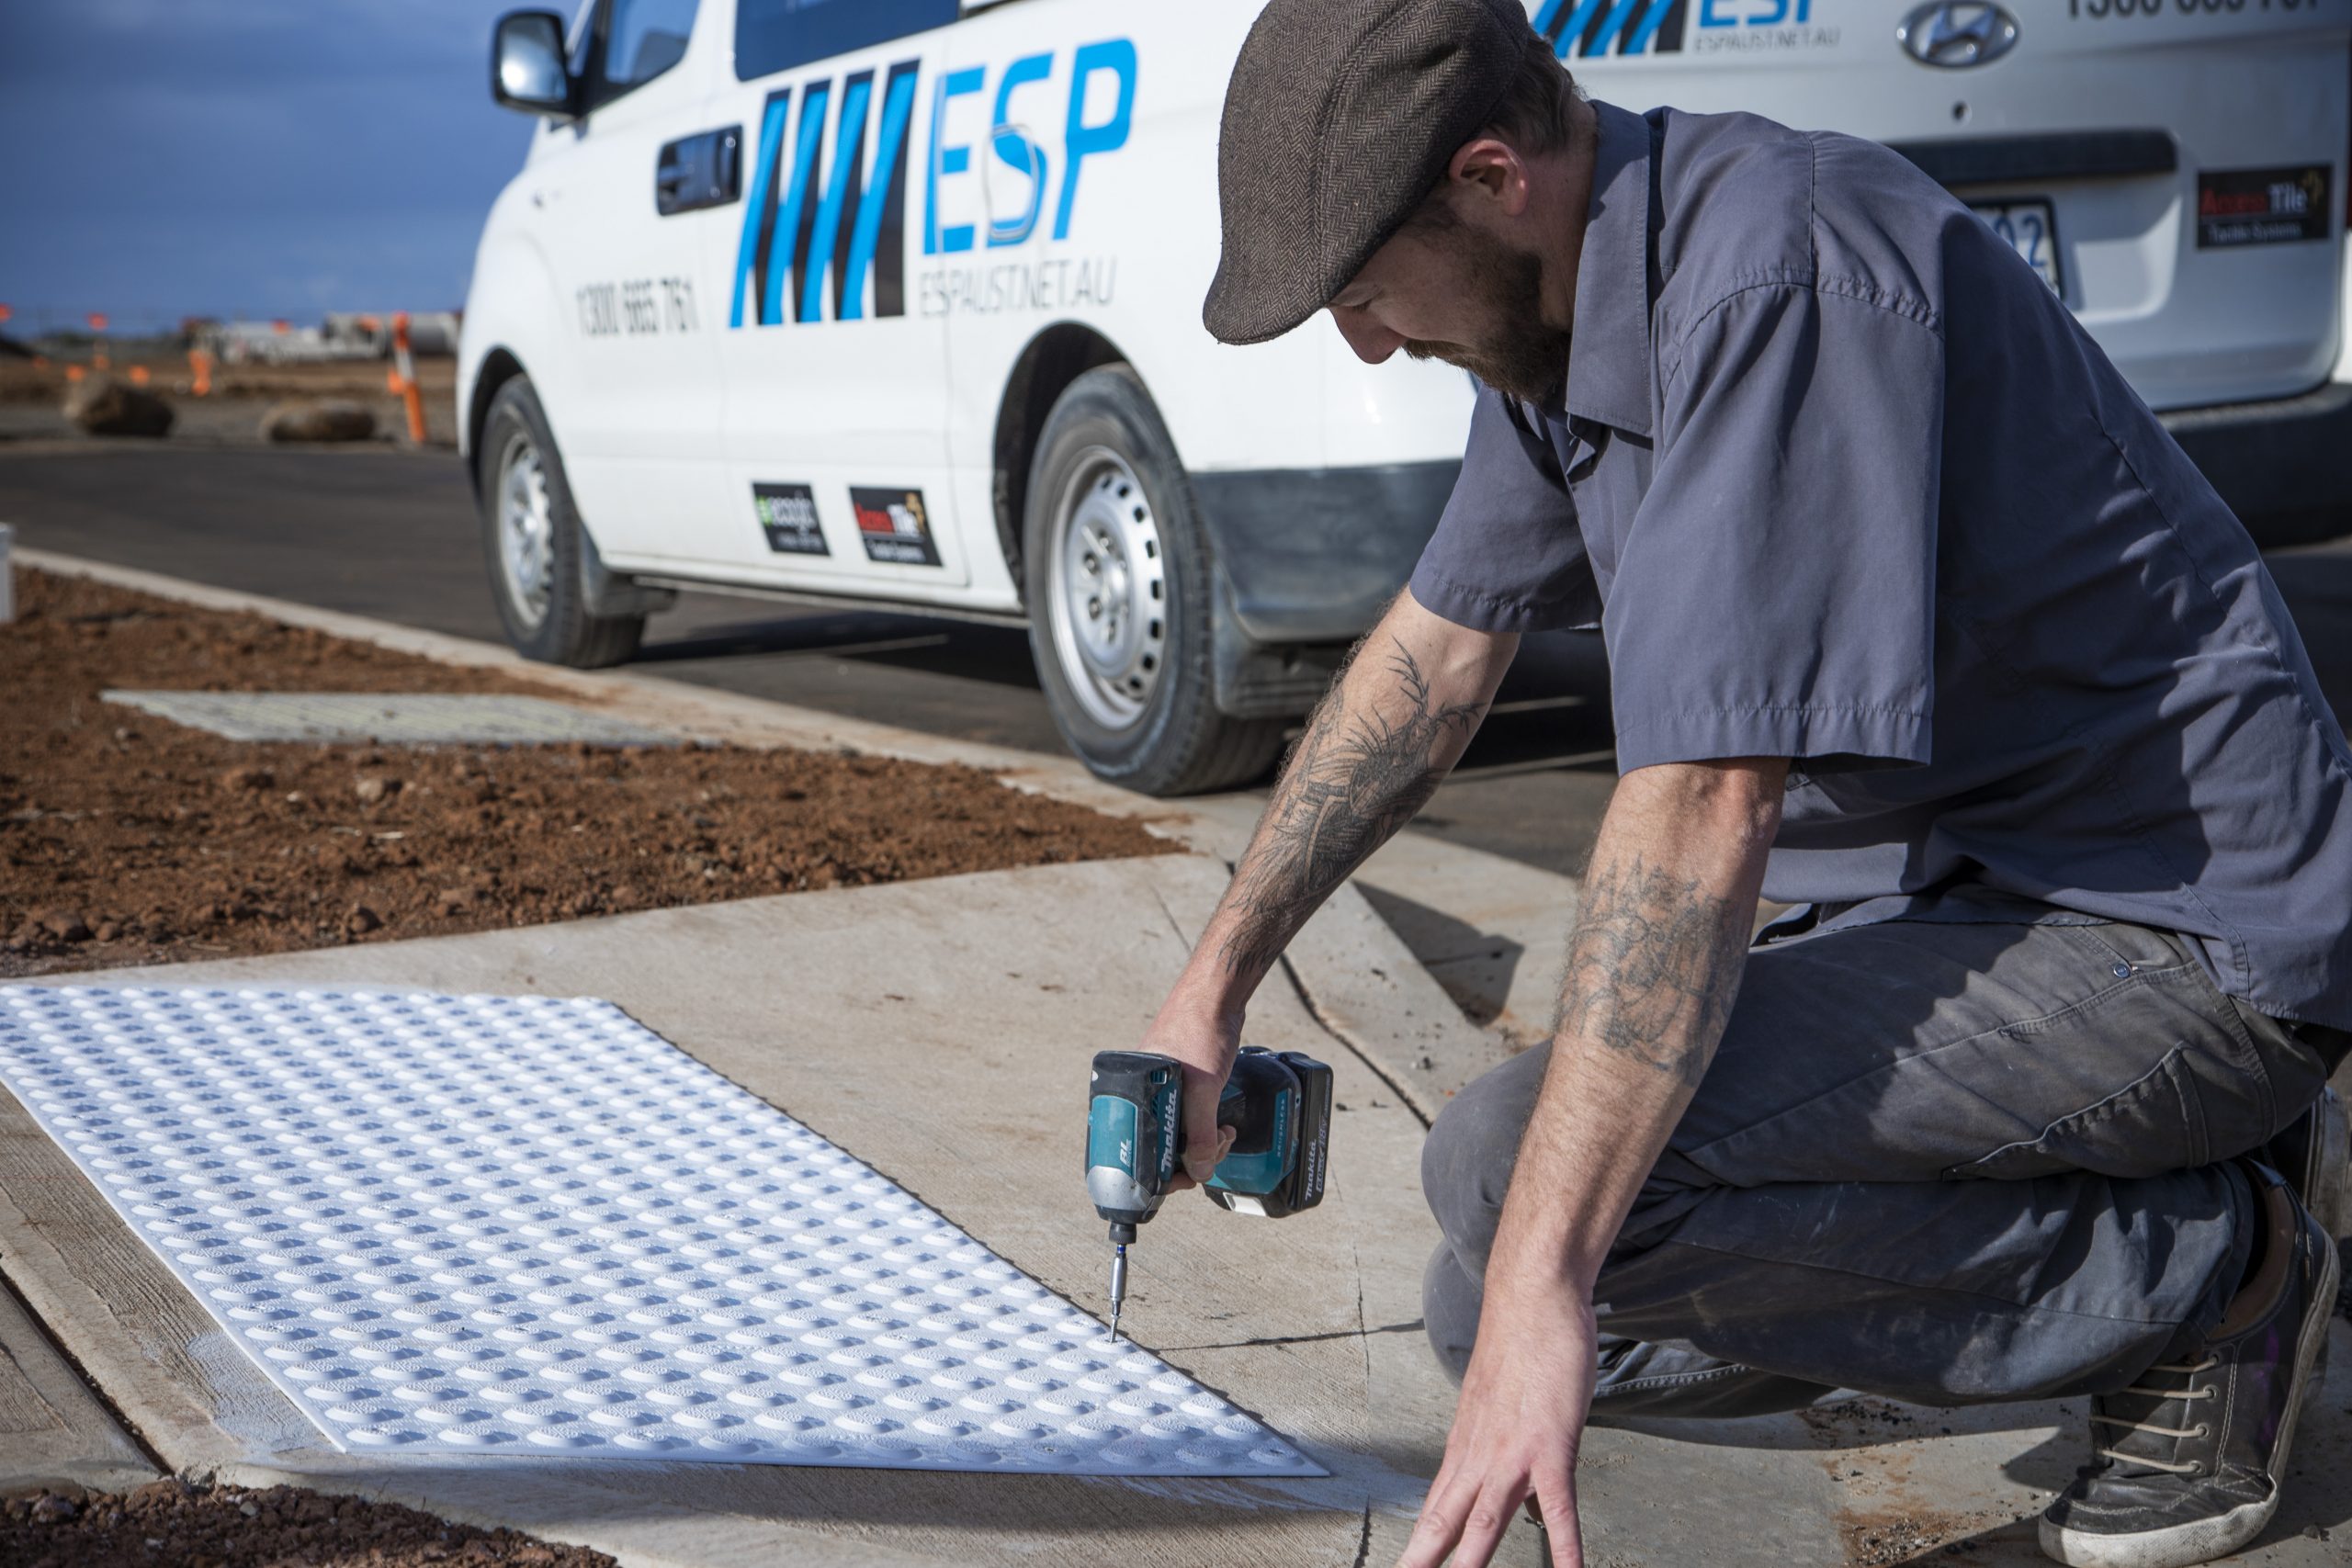
Insert the supplied stainless steel screws through the tile into the plugs and torque down in a cross pattern using a cordless drill until secure making sure the tile is even and square.
Tek Anchors
Insert the supplied Tek Anchors through the tile and tap down in a cross pattern using a soft faced hammer until secure making sure the tile is even and square.
Please Note* These images are for illustrative purposes only. It is the installers responsibility to ensure that the correct Personal Protective Equipment (PPE) is worn and that the necessary precautions are taken to meet all safety requirements. All Tactile Ground Surface Indicators must be installed as per AS/NZS1428.4.1:2009. Different substrates may require a variation in installation methods.

Surface Applied TGSI Installation Guide

A step by step guide detailing how to install ESP’s Surface Applied Access® Tile.